MASK SHAPING - ALL STYLES
SHAPING YOUR MASK.
We produce a number of mask designs, with a basic overview of “Under the Nose” or “Over the Nose”. We are in the process of producing a video for detailed shaping, which shall be linked [HERE] when available, however, for basic fitment, please read on.
To fit the mask snugly, but comfortably to your face, you will need to make some adjustments to the Stainless Steel mesh, this is a one-step process (Mesh Masks) or a two-step process (Sierra Masks), for mouth adjustments please see (STEP 1) for nose adjustment please see (STEP 2) in both steps, final minor adjustments are made whilst the mask is being warn in its final position.
STEP 1 - MOUTH SHAPING
FIRSTLY
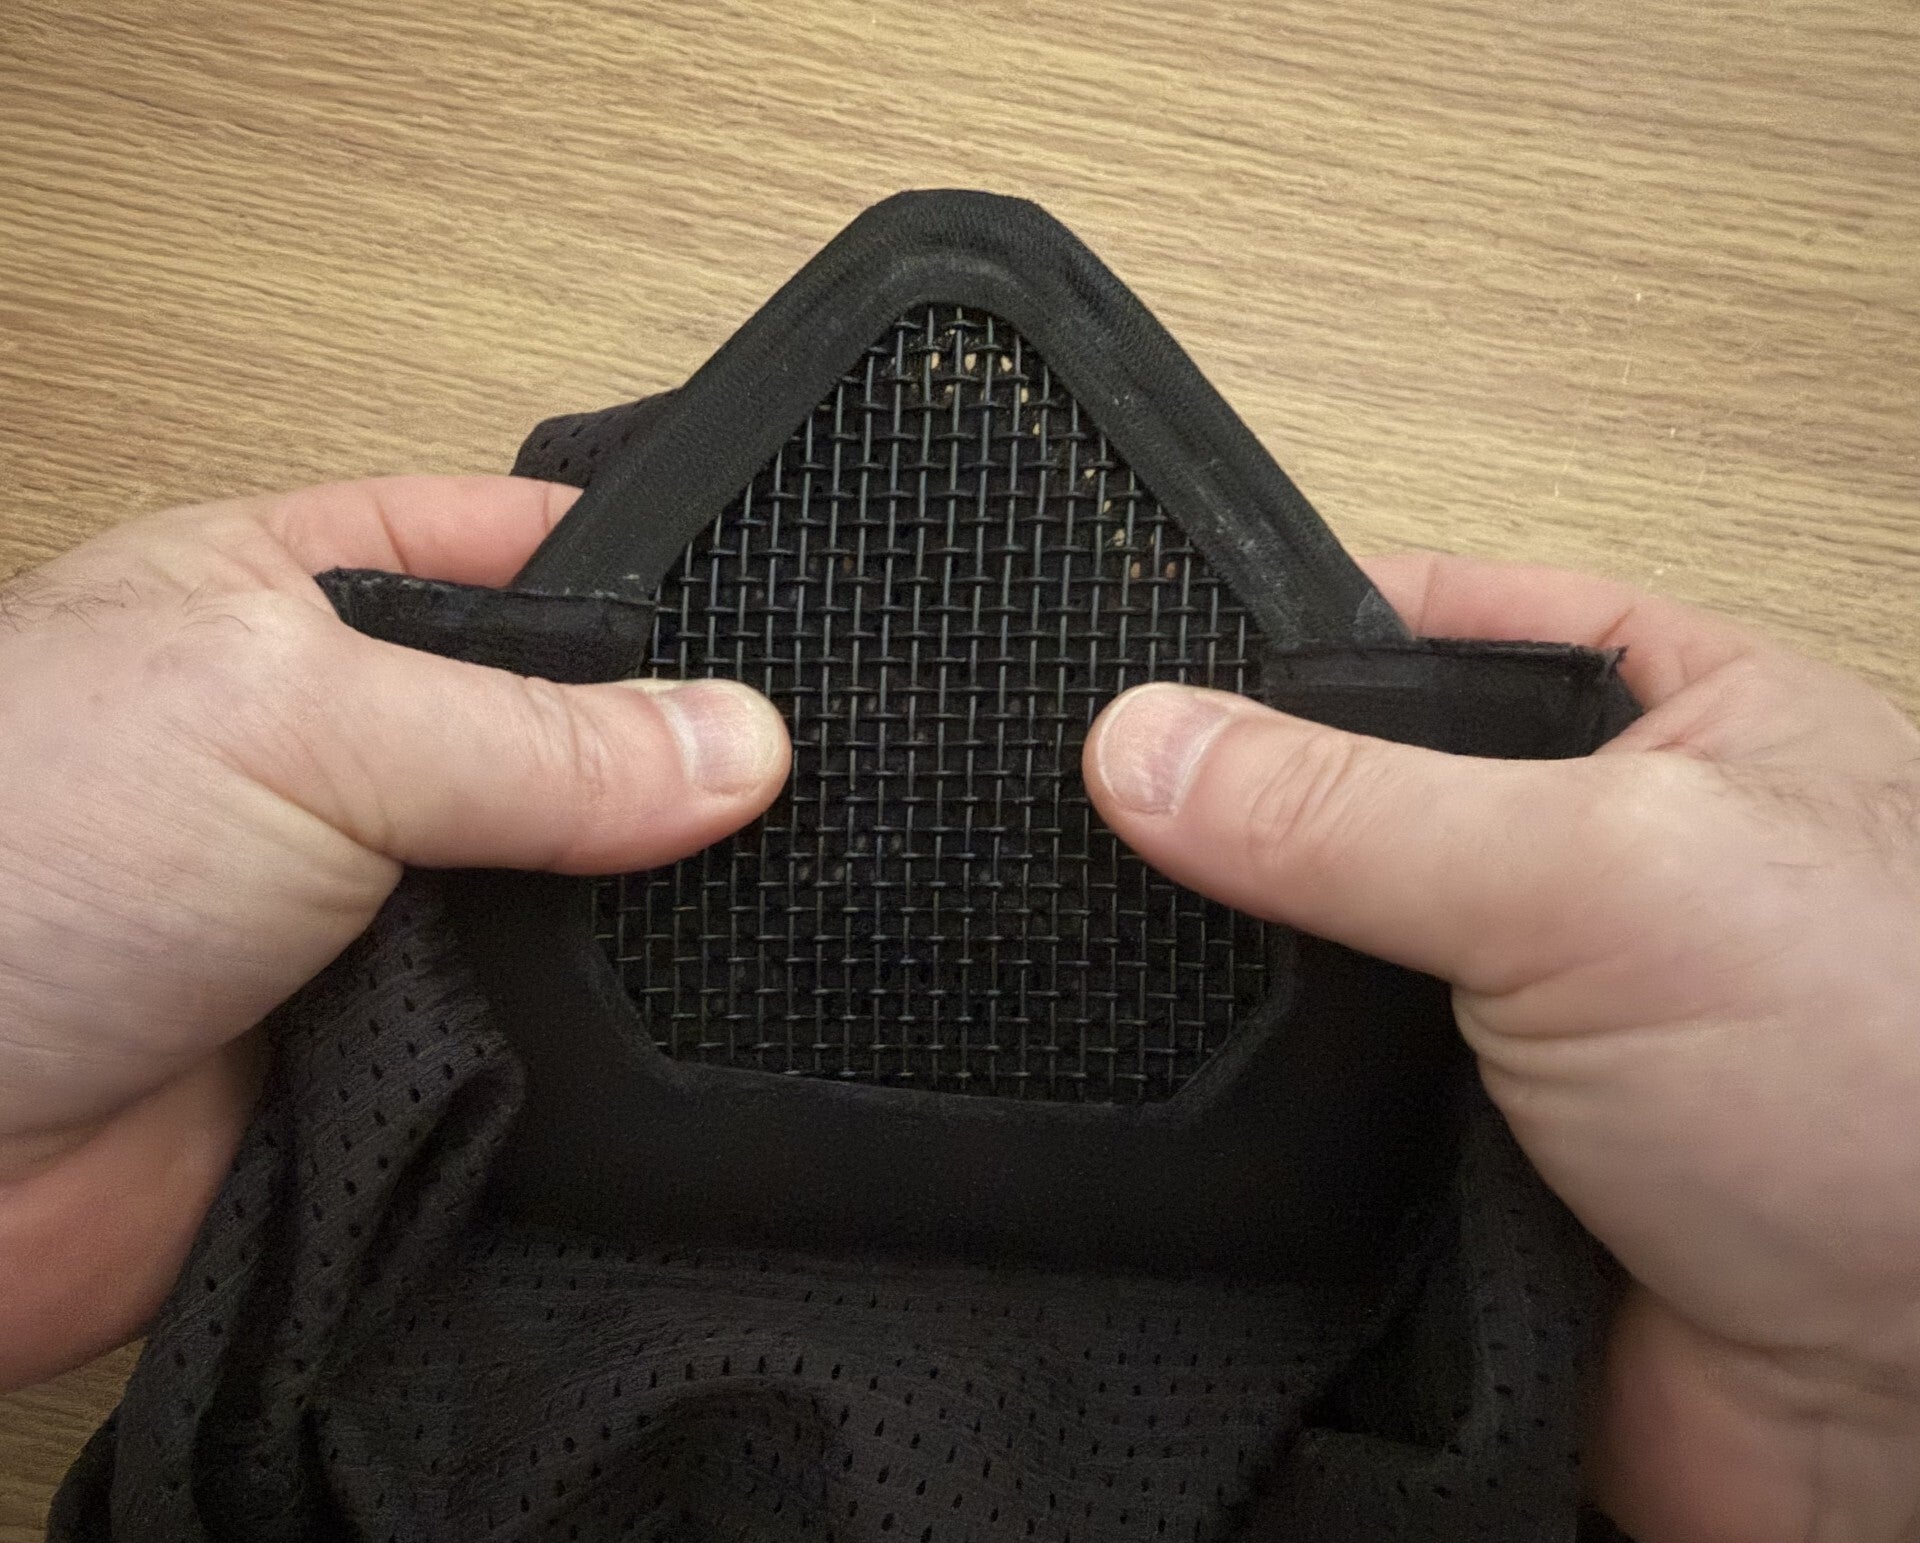
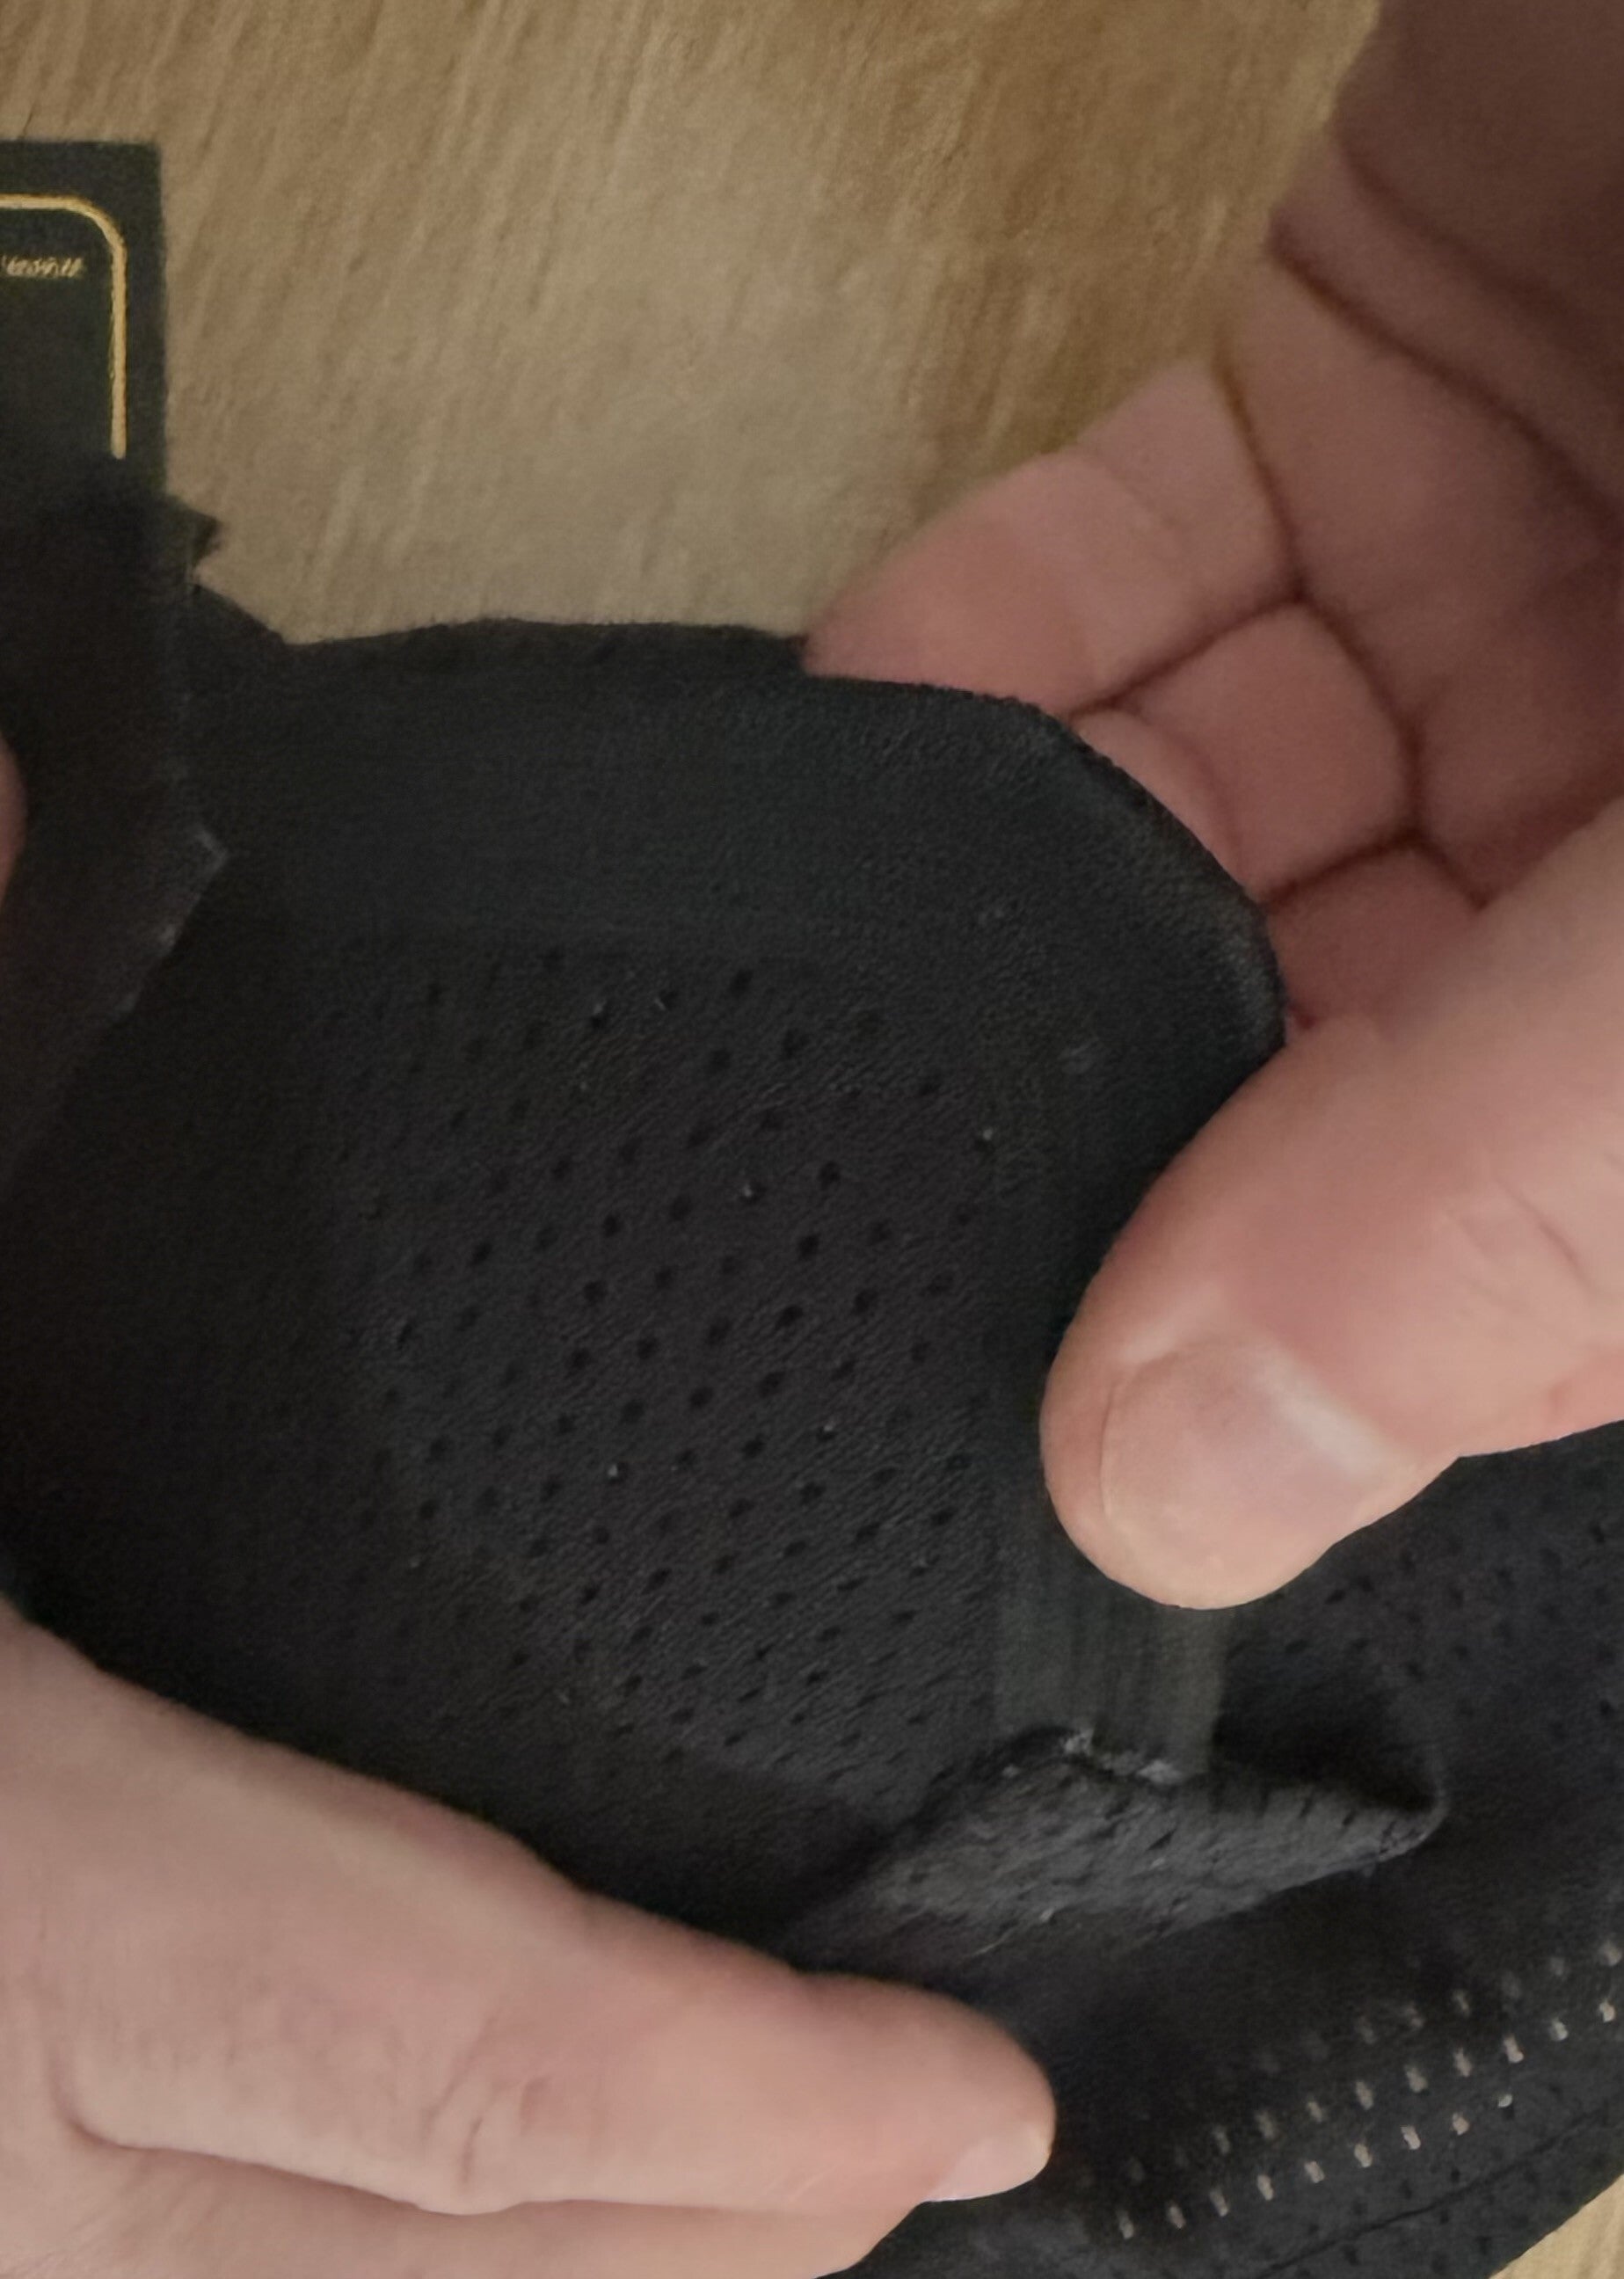
Cup the mask in both hands with the front (OUTSIDE) facing away from you, see IMAGE 1.
NEXT
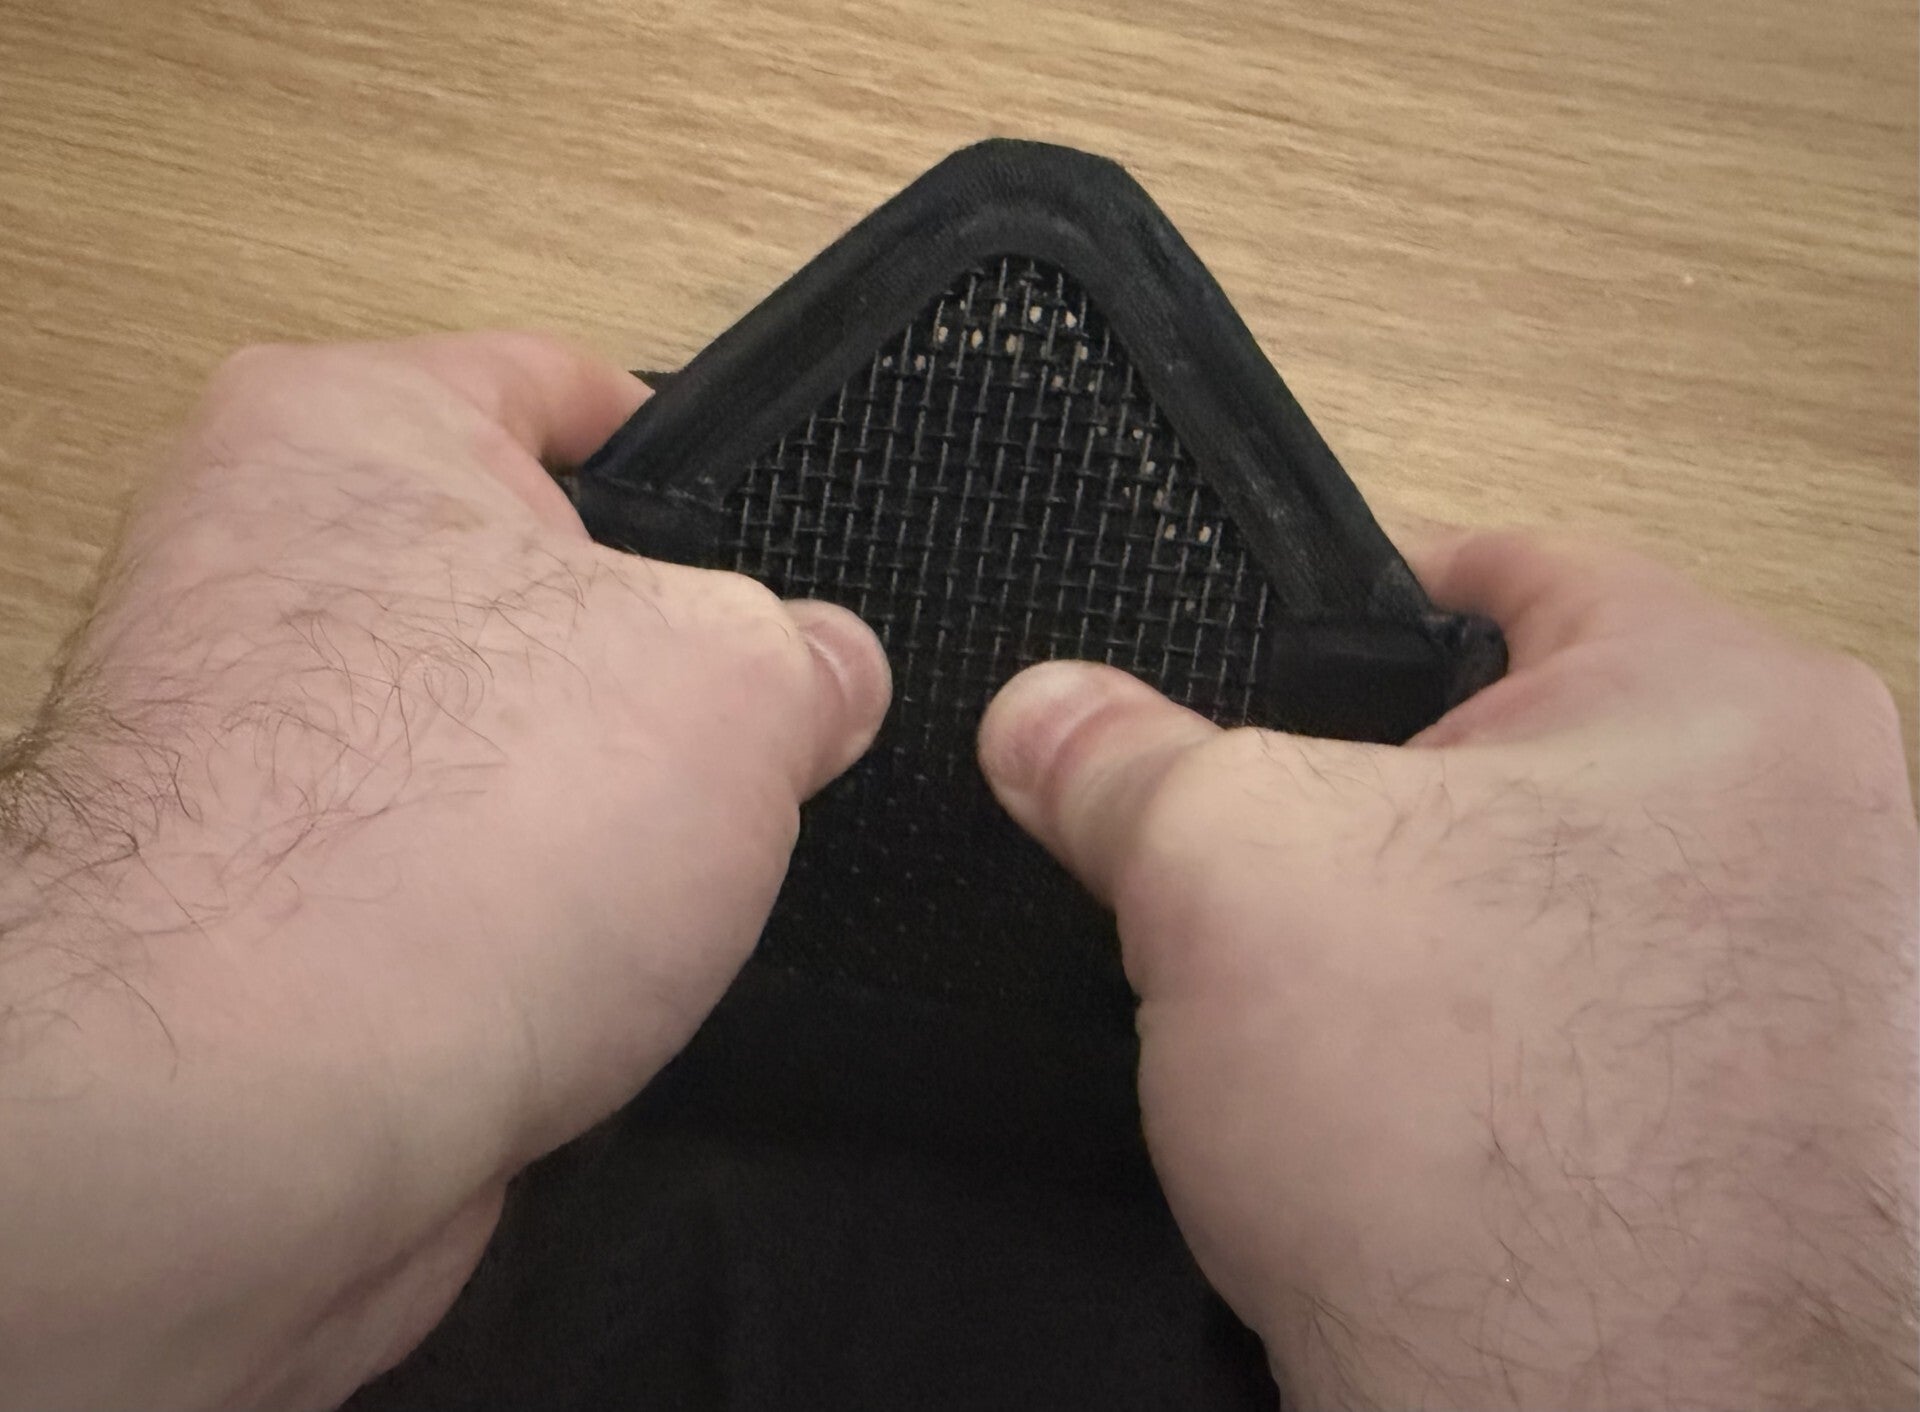
Apply a small amount of pressure to the left and right sides of the mask, whilst pushing inwards with your thumbs, see IMAGE 2.
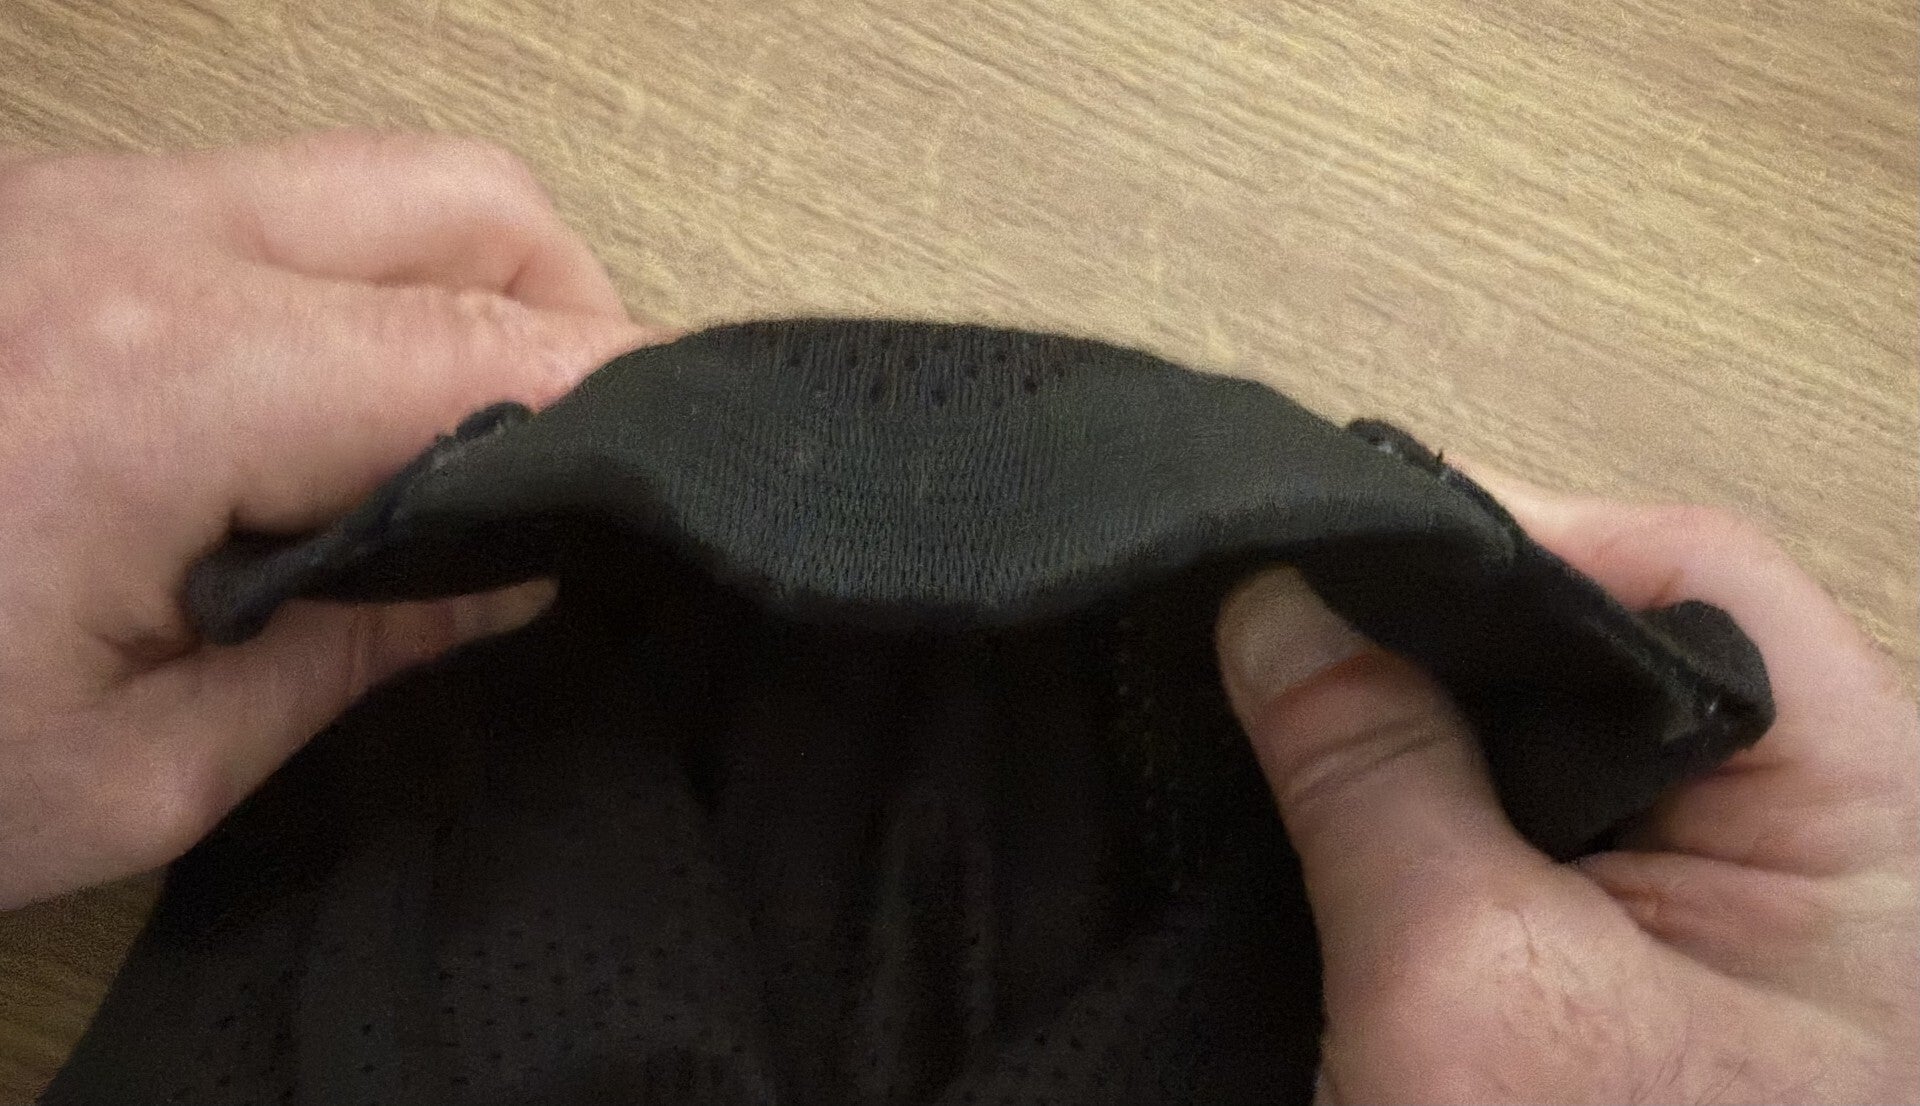
finally
Your mask should now have a sight curved radius, see IMAGE 3.
This curved radius allows for distance between the stainless-steel mesh and your mouth. To check fitment, place the mask against your face.
Before final adjustments are made, the mask should be donned and worn in its final position of use.
your mouth section is now shaped
FOR SIERRA MASK VARIENTS, PLEASE CONTINUE.
Once you have completed Step 1, you can now move onto STEP 2, this step is to help you shape the nose area of your mask. The Sierra Mask was designed to cover the nose as much as possible whilst not interfering with all types of eye protection.
Depending on your current choice of eye protection, this will denote how much your mask need shaping, however, please take the time to mould the mask to fit your face as best as possible, some end users use the Sierra Mask as a flat shield when using Goggles, whilst others contour it to their own face when using standard eye protection glasses, whichever way you chose, please make any minor adjustments needed based around your eye protection as required.
STEP 2 - NOSE SHAPING
FIRSTLY
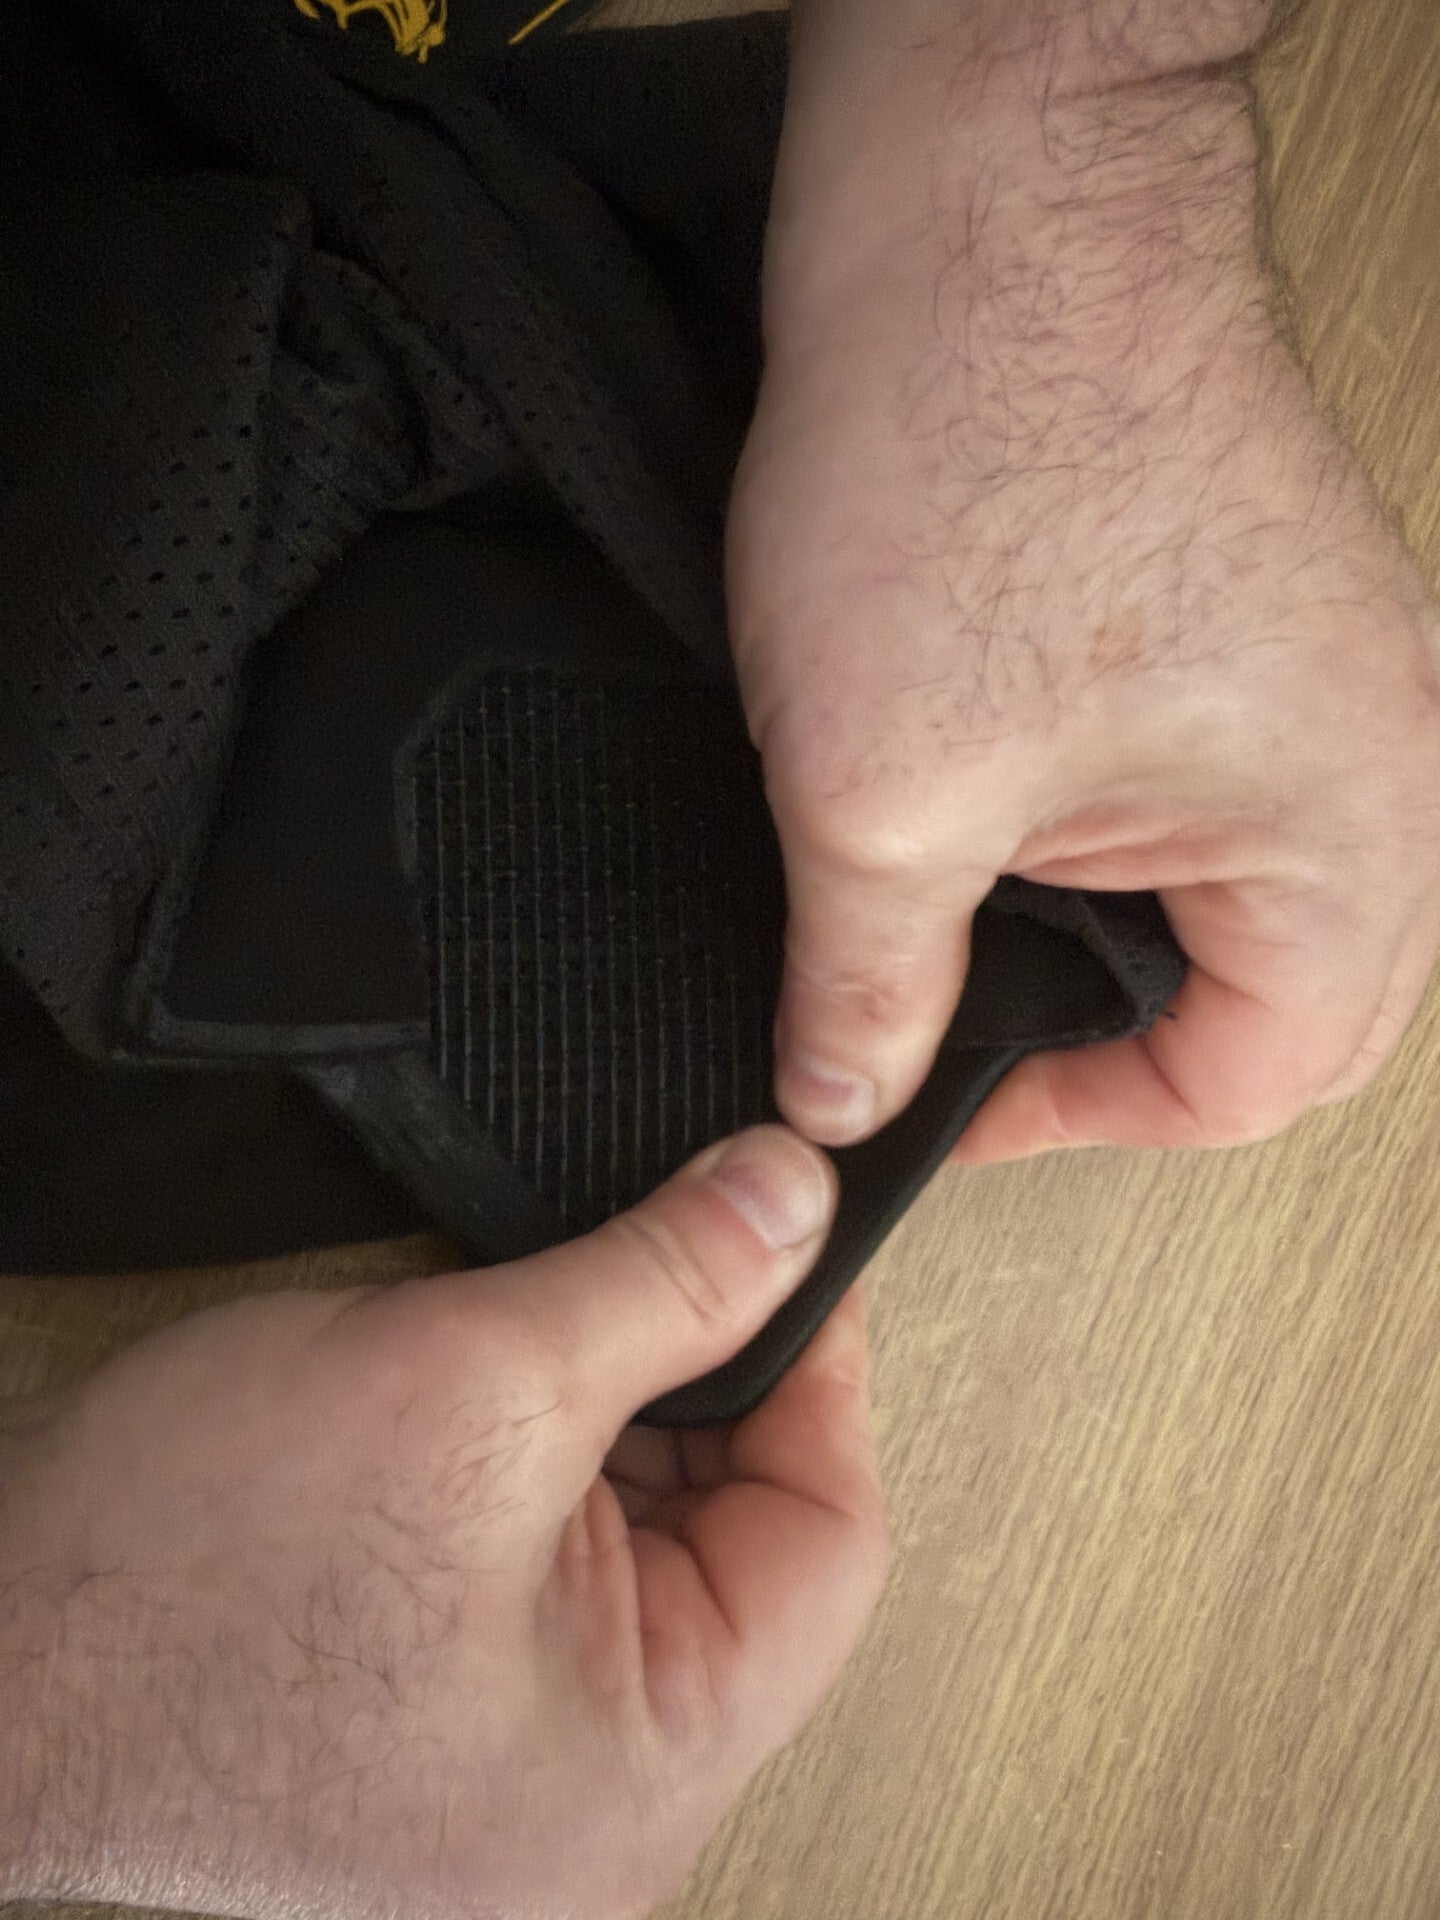
Working on one side of the nose section first, with the front (OUTSIDE) facing away from you, with both thumbs together, apply a small amount of pressure downwards whilst using your other pointer fingers to pull back, this bends the side of the nose section inwards, continue this process on the second side of the nose section, see IMAGE 4.
NEXT
Working on one side of the nose section first, with the front (OUTSIDE) facing away from you, with both thumbs together, apply a small amount of pressure downwards whilst using your other pointer fingers to pull back, this bends the side of the nose section inwards, continue this process on the second side of the nose section, see IMAGE 4.
FINALLY
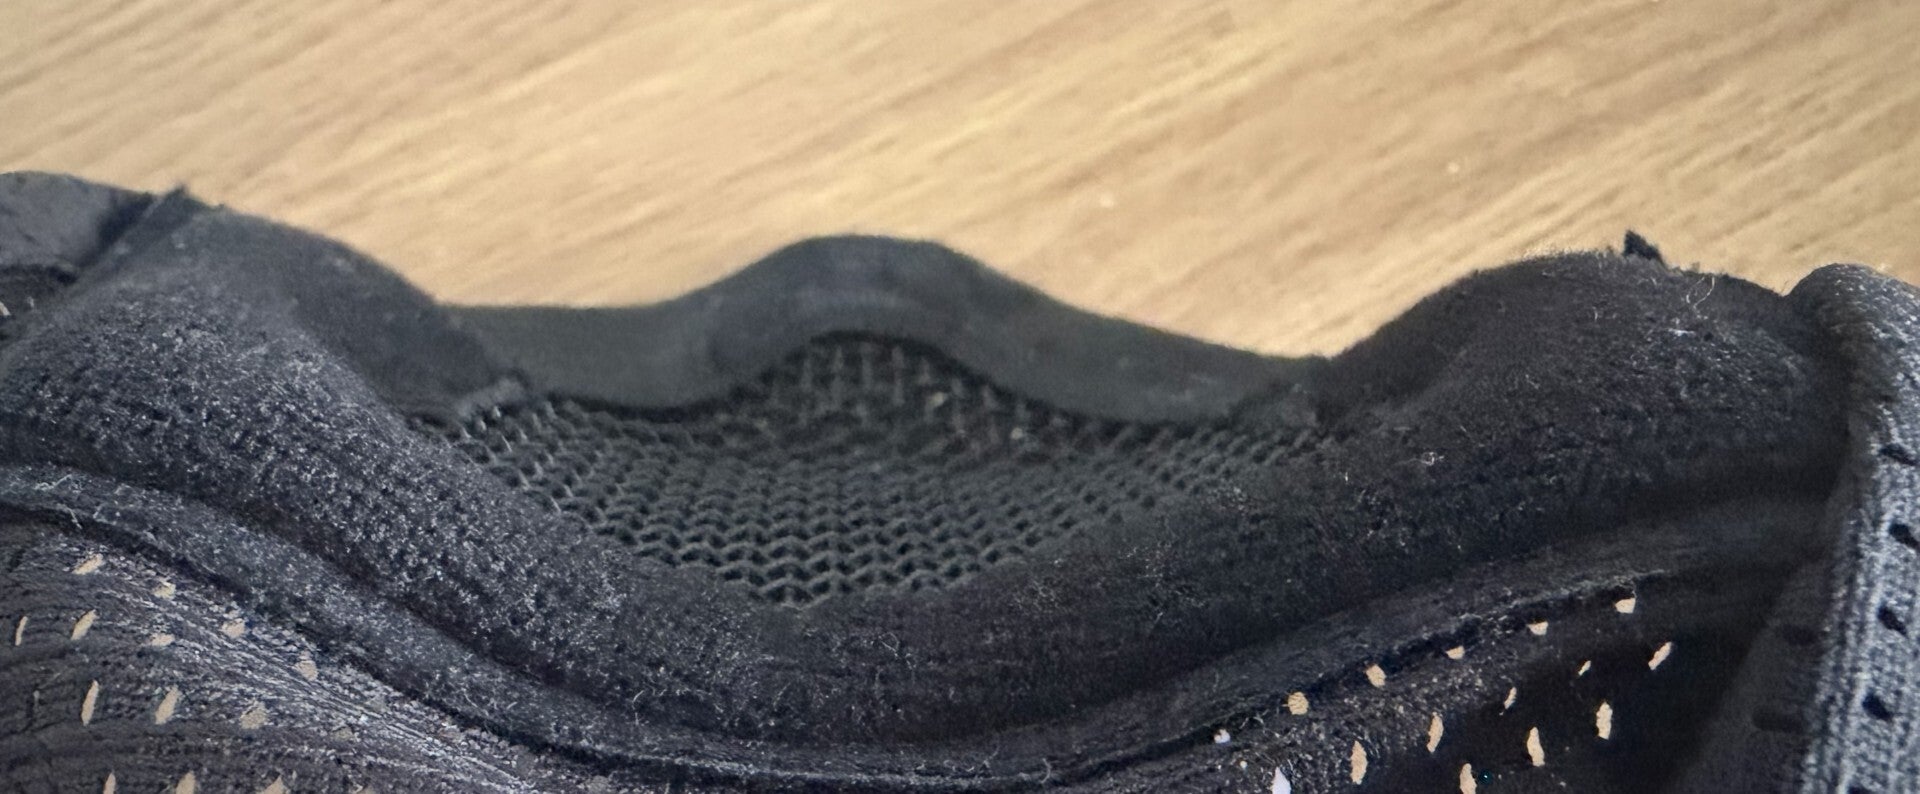
Once you have completed bending the two side sections of nose area, your mask then should have what we call a “Bridge Kick” this is to allow the top of the nose section to be closer to the bridge of your nose, creating less room for projectile entry points when worn,
see IMAGE 6.
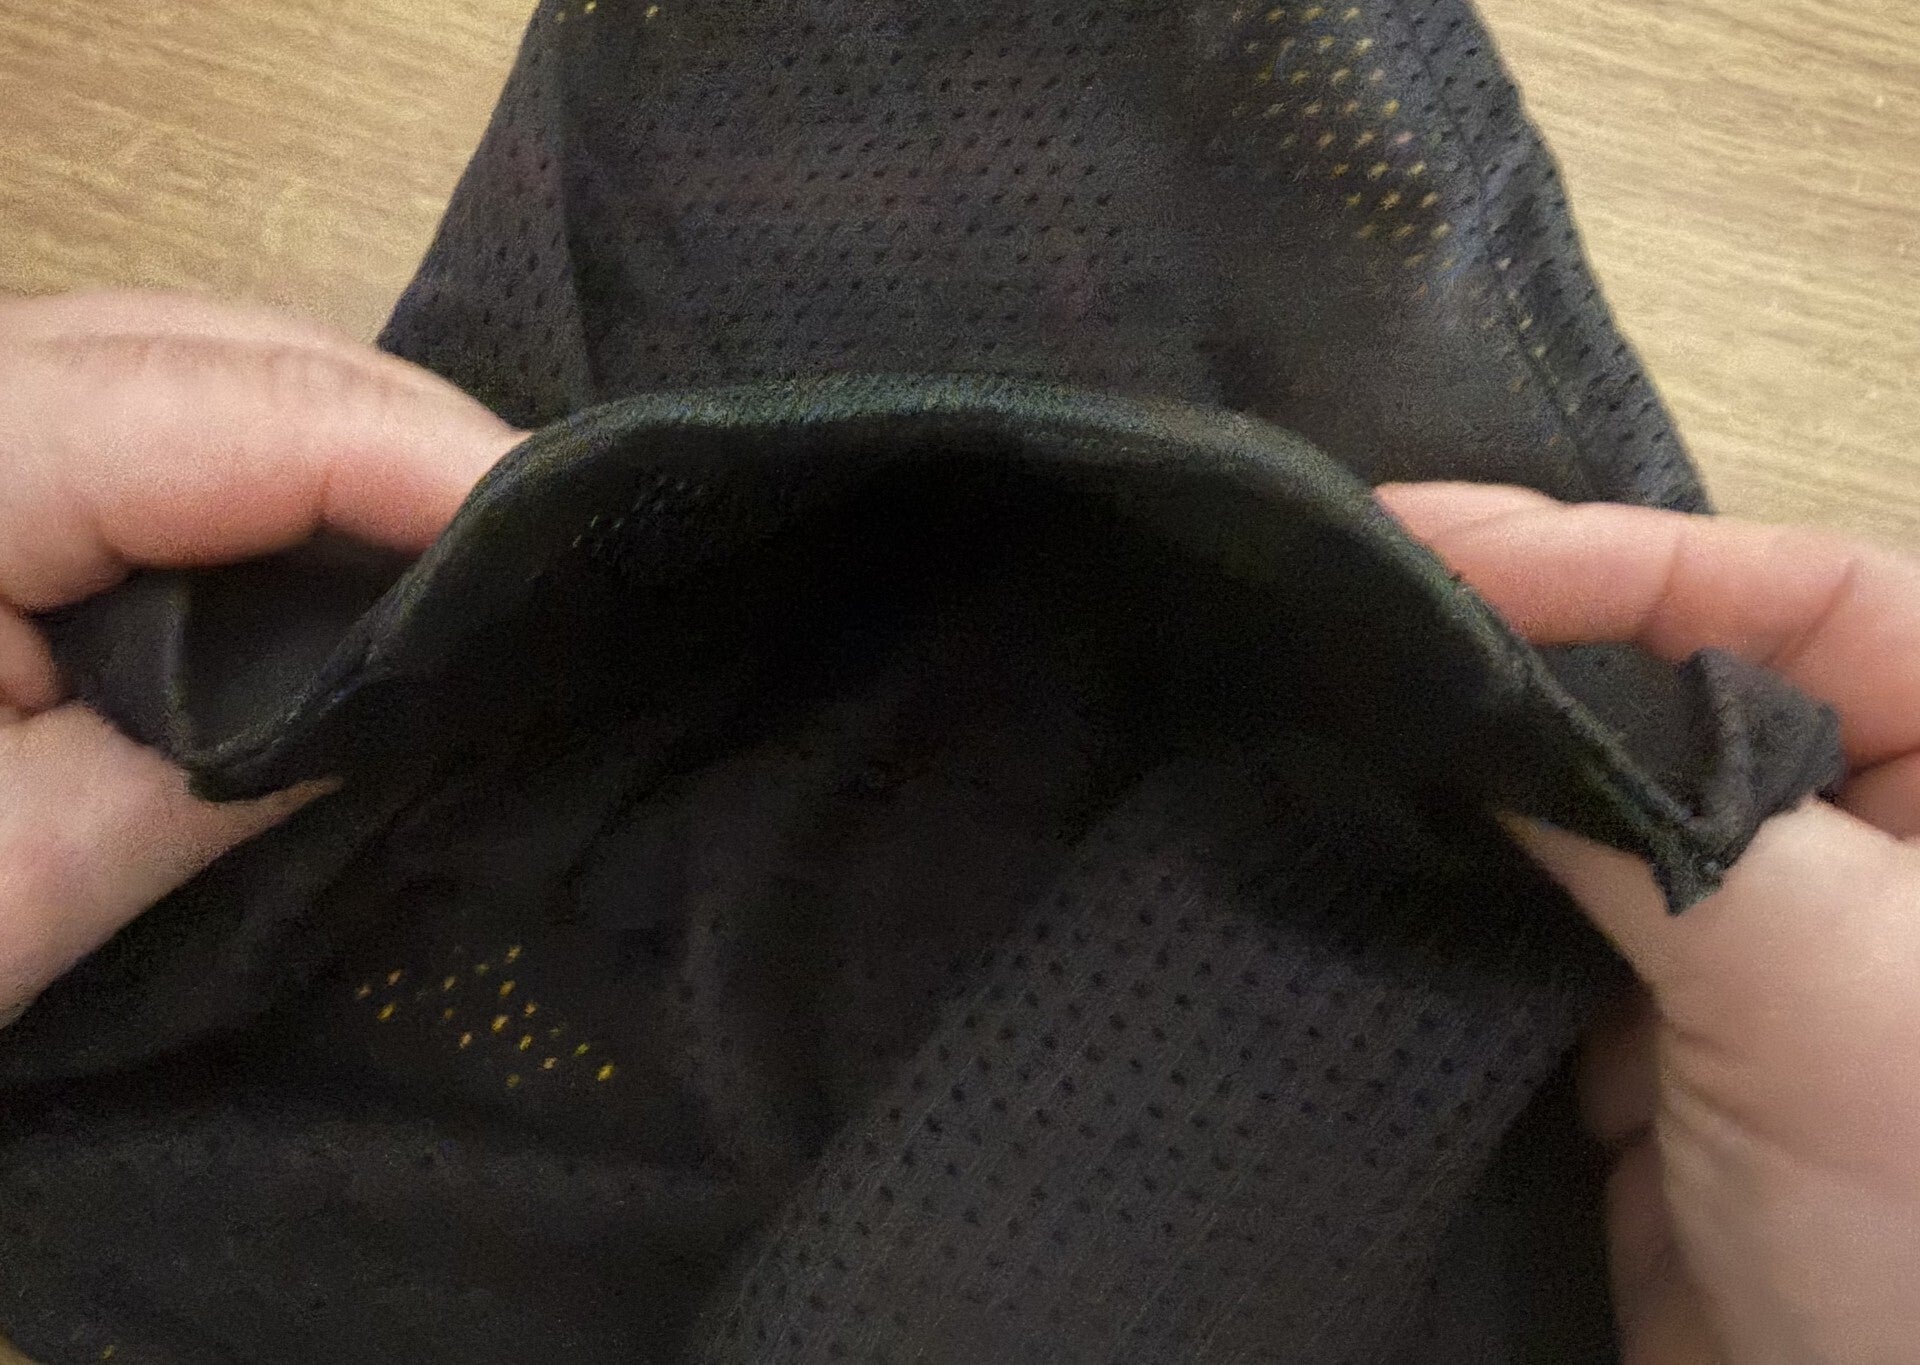
OVERALL FINISH
Once you have completed the steps above, the inside of your Sierra Mask should look similar to IMAGE 7, as you will see, by shaping the Stainless Steel mesh as per these steps, a radius has been formed across the mouth section (STEP 1) the nose section sides have been shaped inwards, and the bridge section has been shaped inwards closer to the bridge of the nose, this has also created a nose pocket.